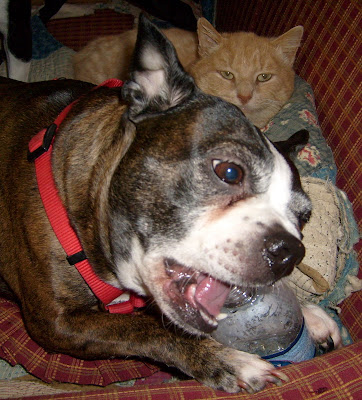


Good Morning Everyone! Sunday services were cancelled here this morning due to the weather. When I stepped outside to go to church it was sleeting and then I got the call that church had been cancelled. So I got a early start on Sunday's tutorial. Me and the critters headed out to the workshop to get started as you can see one critter (the kitty) got harassed a little. But any way let's get down to business. Here is what you will need!
Supplies:
1 pound of wax (I used beeswax)
electric burner (purchased mine at BigLots for $6.00)
old metal pan
old cooker
Crayons and or candle dye
candle scent (optional)
spices (I used cloves and cinnamon)
paper mache eggs
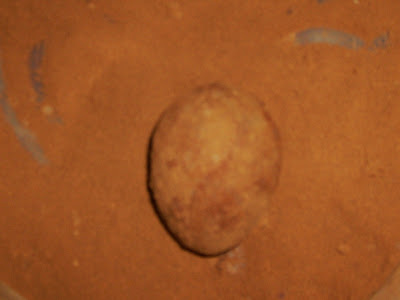
To start off I recommend using and electric burner because this is super MESSY! You will destroy your stove top if you try to do this on your stove! If you do use your stove protect it using foil. OK let's begin; Cover the area you will be working in with foil. Essentially what we are doing is creating a double boiler. Fill your cooker with water and place the metal pan on top. Add your wax to the metal pan and turn on high to melt your wax. This will take awhile so in the meantime get your eggs ready by taking the stickers off them. Mix your spices in a plastic tub and sit the tub next to your double boiler. When your wax has completely melted add your scent. Now comes the creative part mix and match dyes and crayons to get the color you want. I used a tiny bit of brown candle dye and one blue crayon. This will give them a barely blue hue. THIS PART IS CRITICAL PLEASE READ CAREFULLY!!!! Turn your wax off and allow it to cool. When you see your wax beginning to set up around the edges you can begin. BE VERY CAREFUL the wax may still be hot; Working fast submerge your egg in wax and dunk immediately in spices and roll around. Dip in wax again and back in the spices. Repeat for all the eggs. You must work fast during this process and you can mold the egg with your hands while it is still warm, making sure it is smooth. Display on a bed of grass and Enjoy!
I so enjoy doing these tutorials the only thing I ask is please do not sell these directions. Give them to your friends and family freely as they were freely given to you. I sure hope you guys had a blessed Sunday; I have hummed the words all day to one of my favorite hymns; Hold to God's Unchanging Hand. And that is my prayer to you my friends that you will hold to God's unchanging hand. Blessings to you all.
Jill


3 comments:
Hello Jill! I visit many primitive blogs online, but yours stands above all others. Thank you so much for all the tutorials you so kindly share. You have inspired me to try new projects that I did not have the knowledge to try on my own. Please keep blogging and sharing with us!
Jill I just posted a link to your tutorial on my blog!! Thanks again!
Jill...thank you so much for sharing your wax egg tutorial! That was fun to see how it is actually done. :-) Blessings...Susan
Post a Comment